Mazda 3 Owners Manual: Declaration of Conformity
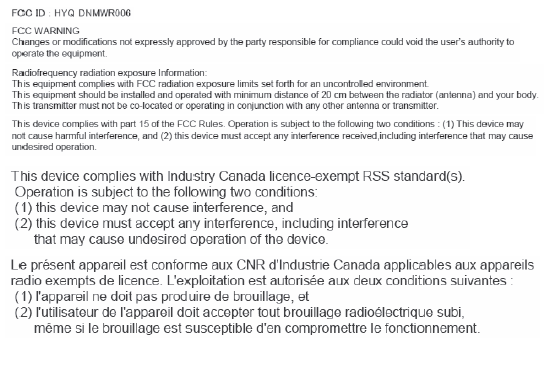
Keyless Entry System/Immobilizer System
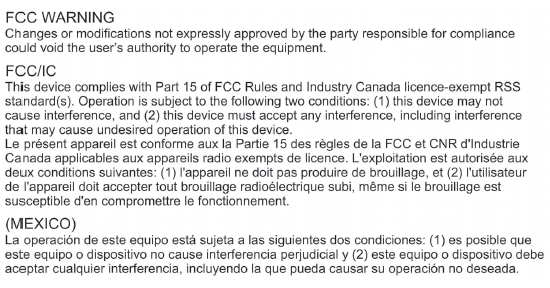
Blind Spot Monitoring (BSM) System
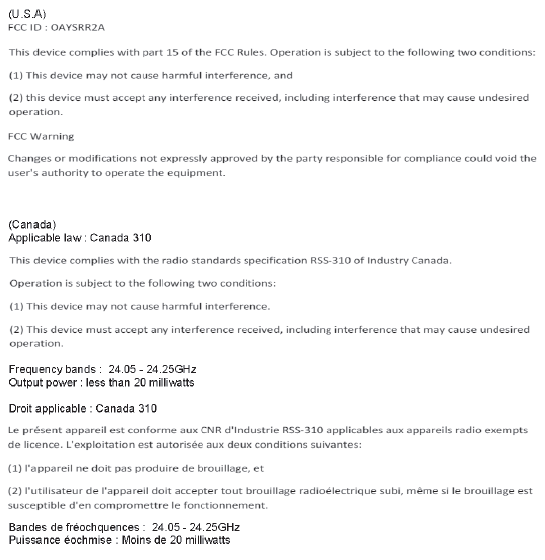
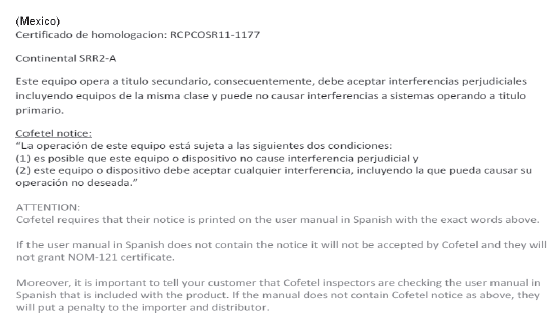
NOTE During printing time of this user manual the approvals listed above are granted.
| WARNING Change or modifi cations not expressively approved by the party responsible for compliance could void the use's authority to operate the equipment. |
HomeLink Wireless Control System
| CAUTION HomeLink has been tested and complies with FCC and Industry Canada rules. Changes or modifi cations not expressly approved by the party responsible for compliance could void the user's authority to operate the device. |
NOTE
FCC ID: NZLMOBHL4
CANADA:4112A-MOBHL4
This device complies with part 15 of the FCC Rules. Operation is subject to the following two conditions:
- This device may not cause harmful interference, and
- This device must accept any interference received, including interference that may cause undesired operation.
Bluetooth® Hands-Free
Type A
U.S.A. and Canada
FCC ID: CB2MBLUEC09 IC:279B-MBLUEC09 This device complies with Part 15 of the FCC Rules and with RSS-210 of Industry Canada.
Operation is subject to the following two conditions:
- This device may not cause harmful interference, and
- This device must accept any interference received, including interference that may cause undesired operation.
| WARNING Changes or modifi cations not expressly approved by the party responsible for compliance could void the user's authority to operate the equipment. |
The term “IC: ” before the radio certification number only signifies that Industry Canada technical specifications were met.
The antenna used for this transmitter must not be co-located or operating in conjunction with any other antenna or transmitter. End-users and installers must be provided with installation instructions and transmitter operating conditions for satisfying RF exposure compliance.
Mazda Bluetooth ® Hands-Free Customer Service
- U.S.A.
- Canada
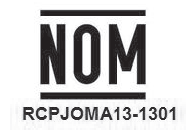
Mexico

- Brief description: Bluetooth module for Hands-free telephone and streaming audio
- Name and address of the importer: Refer to "MEXICO" in Importer/ Distributor section.
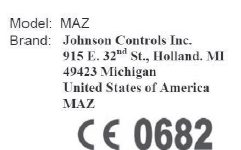
- Brand name of the product: Johnson Controls Inc.
- Model name of the product: MAZ
- Names and addresses of where the warranty can be served: Refer to "MEXICO" in Importer/Distributor section.
- Names and addresses of where to acquire spare parts, consumables and accessories: Refer to "MEXICO" in Importer/Distributor section.
- Warranty period, items covered by the warranty and its possible limitations or exceptions: Refer to the Warranty Booklet for detailed warranty information.
- Warranty procedure:
- Center of Attention to Client (CAC)
- Phone: 01-800-01-MAZDA
- Web: www.mazdamexico.com.mx
- Electrical specifications:
- Voltage: 9-16V, Frequency: 2.4Ghz, Current: 270mA(
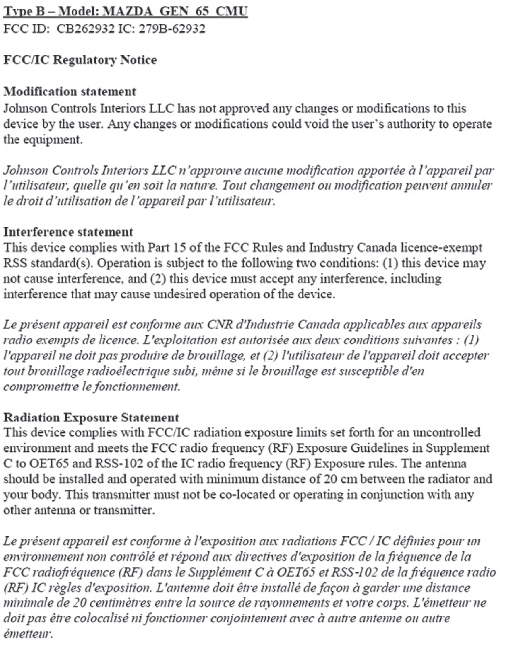
Type B
U.S.A. and Canada
Mexico
Forward Obstruction Warning (FOW)/Mazda Radar Cruise Control (MRCC)
 Steps for Determining the Correct
Load Limit
Steps for Determining Correct Load Limit-
Locate the statement “The combined weight of occupants and cargo
should never exceed
XXX kg or XXX lbs.” on your vehicle's placard.
Determine the c ...
 Specifications
...
Other materials:
Refrigerant Pressure Sensor Removal/Installation [Full Auto Air Conditioner]
1. Disconnect the negative battery cable..
2. Discharge the refrigerant..
3. Disconnect the refrigerant pressure sensor connector.
CAUTION:
If moisture or foreign material enters the refrigeration cycle, cooling ability
will be lowered and abnormal noise will occur. Always immediate ...
Suspension SST
49 T034 1A0
Coil spring compressor set
49 0180 510B
Preload measuring attachment
49 B034 001
Guide
49 B034 002
Guide
49 T028 3A0
Ball joint puller set
...
Fuel Filter (High Pressure) Removal/Installation [Mzr 2.0, Mzr 2.5]
WARNING:
Fuel is very flammable liquid. If fuel spills or leaks from the pressurized
fuel system, it will cause serious injury or death and facility breakage. Fuel
can also irritate skin and eyes. To prevent this, always complete the “Fuel
Line Safety Procedure”, while referring to ...
