Mazda 3 Owners Manual: Identification Numbers
Vehicle Identification Number
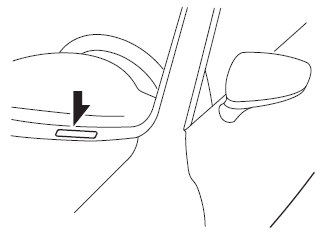
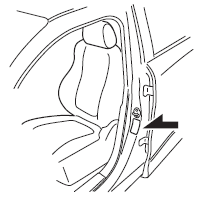
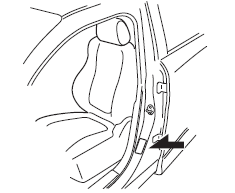
The vehicle identification number legally identifies your vehicle. The number is on a plate attached to the cowl panel located on the left corner of the dashboard. This plate can easily be seen through the windshield
Motor Vehicle Safety Standard Label (U.S.A. and Canada)
For vehicle identification number beginning with JM1
For vehicle identification number beginning with 3MZ *
*1 Check the vehicle identification number on the vehicle identification number plate. Refer to Vehicle Identification Number on .
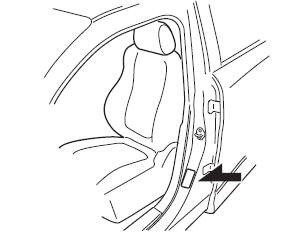
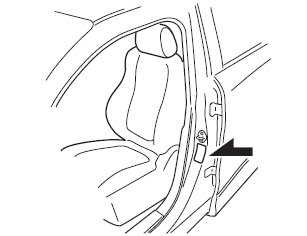
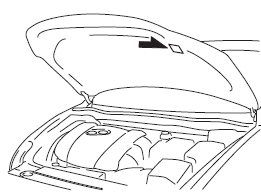
Chassis Number
Open the cover shown in the figure to check the chassis number.
Vehicle Emission Control Information Label (U.S.A. and Canada)
Tire Pressure Label
For vehicle identification number beginning with JM1
For vehicle identification number beginning with 3MZ *1
*1 Check the vehicle identification number on the vehicle identification number plate. Refer to Vehicle Identification Number on .
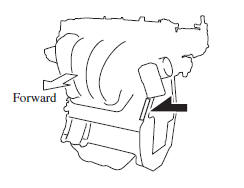
Engine Number
 Specifications
...
 Specifications
Engine
Electrical System
*1 Q-85 is designed for i-ELOOP system. Only Q-85 should be used to ensure
correct operation of i-ELOOP
system. Consult an Authorized Mazda Dealer for details.
...
Other materials:
Confirmation Step 3: Antenna System Simple Inspection [Radio]
Because the antenna system is equipped with a capacitor, the continuity cannot
be checked. Therefore proceed the following simple inspection.
Turn the AM radio on.
Tune to the frequency that there is no broadcast and you will hear a
buzzing sound.
Turn ...
Seat Belt Precautions
Seat belts help to decrease the possibility of severe injury during accidents
and sudden
stops. Mazda recommends that the driver and all passengers always wear seat
belts.
(U.S.A. and Canada)
All of the seat belt retractors are designed to keep the lap/shoulder belts
out of the way when
no ...
Throttle Body Inspection [Mzr 2.0, Mzr 2.5]
Resistance Inspection
1. Remove the battery cover..
2. Disconnect the negative battery cable..
3. Disconnect the throttle body connector.
4. Measure the resistance between throttle body terminals E and F.
Throttle body resistance
0.3—100 ohms [20°C {68 °F}]
If not as ...
