Mazda 3 Service Manual: Pilot Bearing Inspection [G35 M R]
1. Perform the following procedures.
a. Remove the battery cover..
b. Disconnect the negative battery cable.
c. Remove the battery component. (ex: battery, battery tray and PCM component).
d. Remove the air cleaner component..
e. Remove the exhaust manifold insulator installation bolts and set the exhaust manifold insulator aside.
f. Remove the exhaust manifold bracket..
g. Remove the front splash shield..
h. Remove the aerodynamic under cover No.2..
i. Remove the starter..
j. Drain the transaxle oil into a suitable container..
k. Remove the manual transaxle..
2. Without removing the pilot bearing, turn the bearing while applying force in the axial direction.
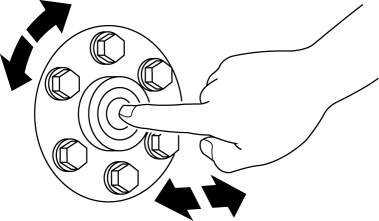
-
If there is any malfunction, replace the pilot bearing..
 Pilot Bearing Inspection [C66 M R]
1. Without removing the pilot bearing, turn the bearing while applying force
in the axial direction.
If there is any malfunction, replace the pilot bearing..
...
 Pilot Bearing Inspection [G66 M R]
1. Perform the following procedures.
a. Remove the battery cover..
b. Disconnect the negative battery cable.
c. Remove the battery component. (ex: battery, battery tray and PCM component).
d. ...
Other materials:
Front Seat Cover Removal/Installation [Vehicles Without Power Seat System]
WARNING:
Handling a front seat (with built-in side air bag) improperly can accidentally
operate (deploy) the air bag, which may seriously injure you. Read the service
warnings before handling a front seat (with built-in side air bag)..
CAUTION:
After removing a front seat ...
To Turn Off an Armed System
An armed system can be turned off using
any one of the following methods:
Pressing the unlock button on the
transmitter.
Switching the ignition ON.
(With the advanced keyless function)
Pressing a request switch on the doors.
The hazard warning lights will flash twice.
NOTE
When th ...
Brakes SST
49 D043 0A0
Adapter set
49 U043 0A0A
Oil pressure gauge set
49 0221 600C
Disc brake expand tool
49 B033 001
Installer
49 G033 102
Handle
...
